
Store Categories
- Tonneau Cover
- Headlight
- Taillight
- Wheel Hub
- Sensor
- Fuel/DieseI Injectors
- Exhaust Tip
- Fuel Pump
- Carburetor
- Intake Manifold
- Shocks Struts
- Cooling Fan
- Pumps
- Towing Mirror
- Roof Rack
- Engine Valve Cover
- Exhaust Manifold
- Distributor
- Idle Air Control Valve
- Air Intake Hose
- Spark Plug Ignition Wires
- EGR
- VVT
- Tool
- Wheel Lug Nuts
- Bulbs
- Fuel Cap
- Heater Blower Motor
- Water Cup Holder
- Sun Visor
- Other
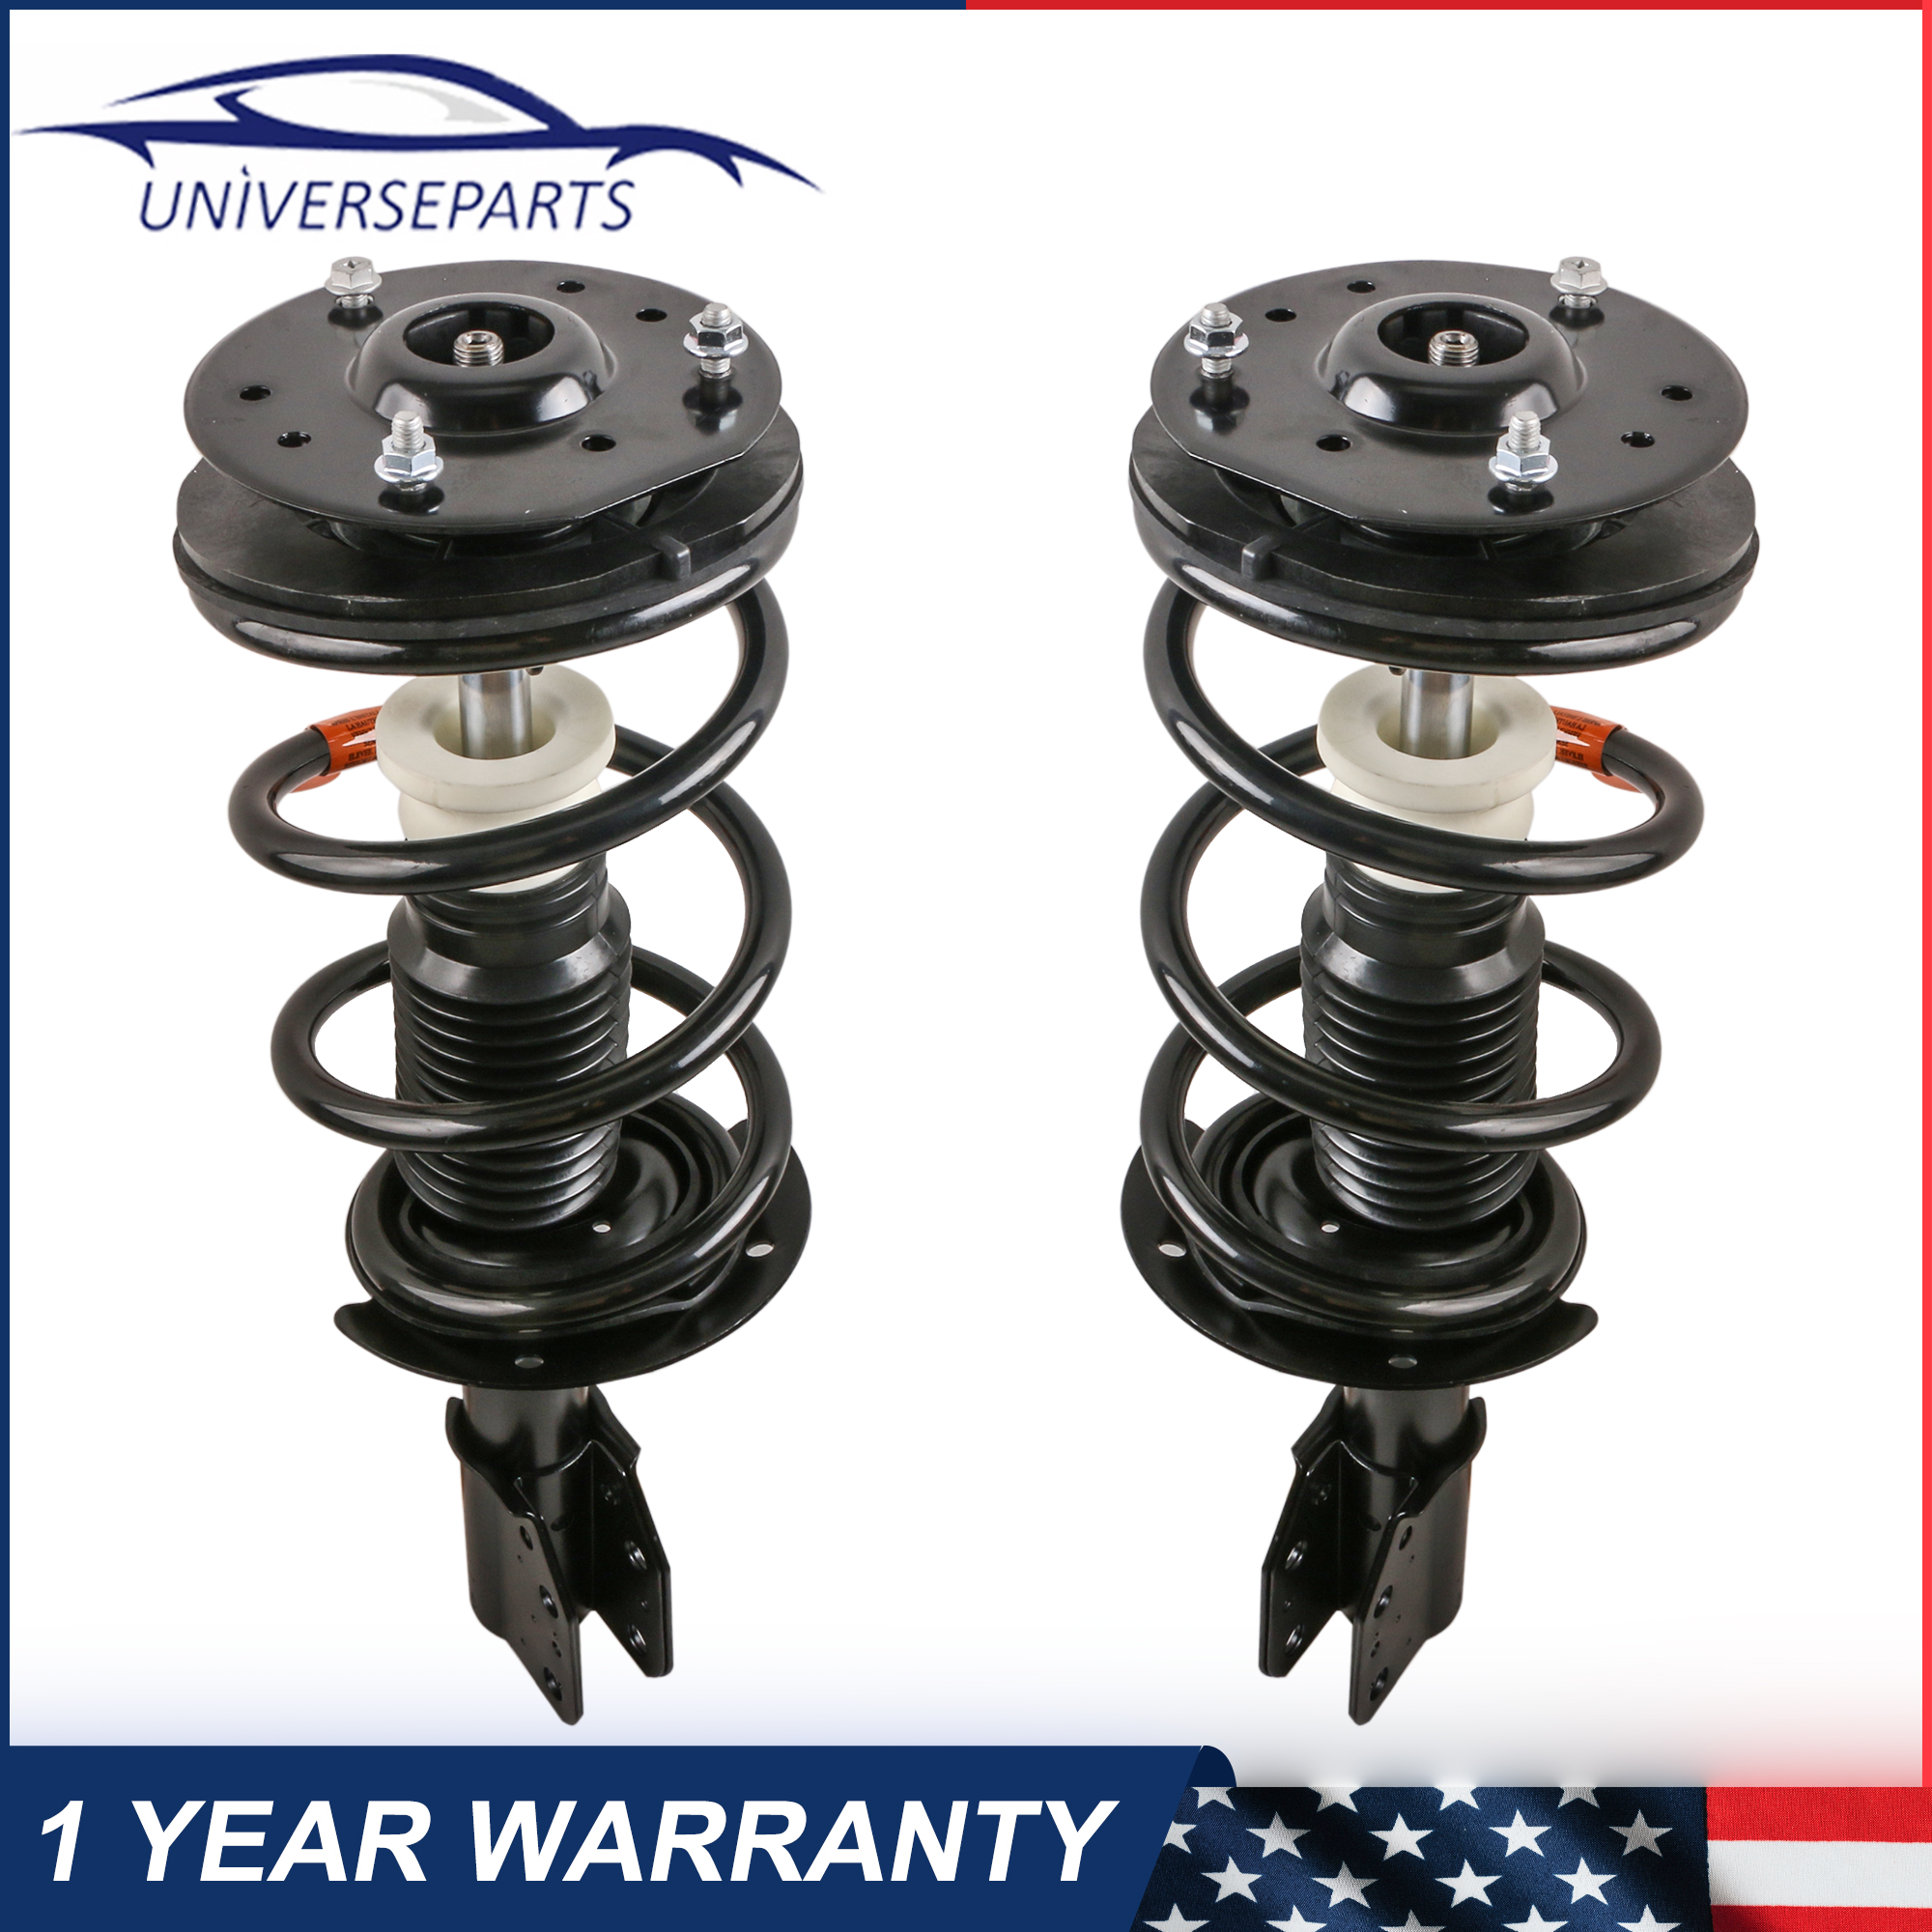


1 YEAR WARRANTY
Feature:
· Brand new
· Stock parts direct replacement
· Easy installation
· Placement on Vehicle: Front
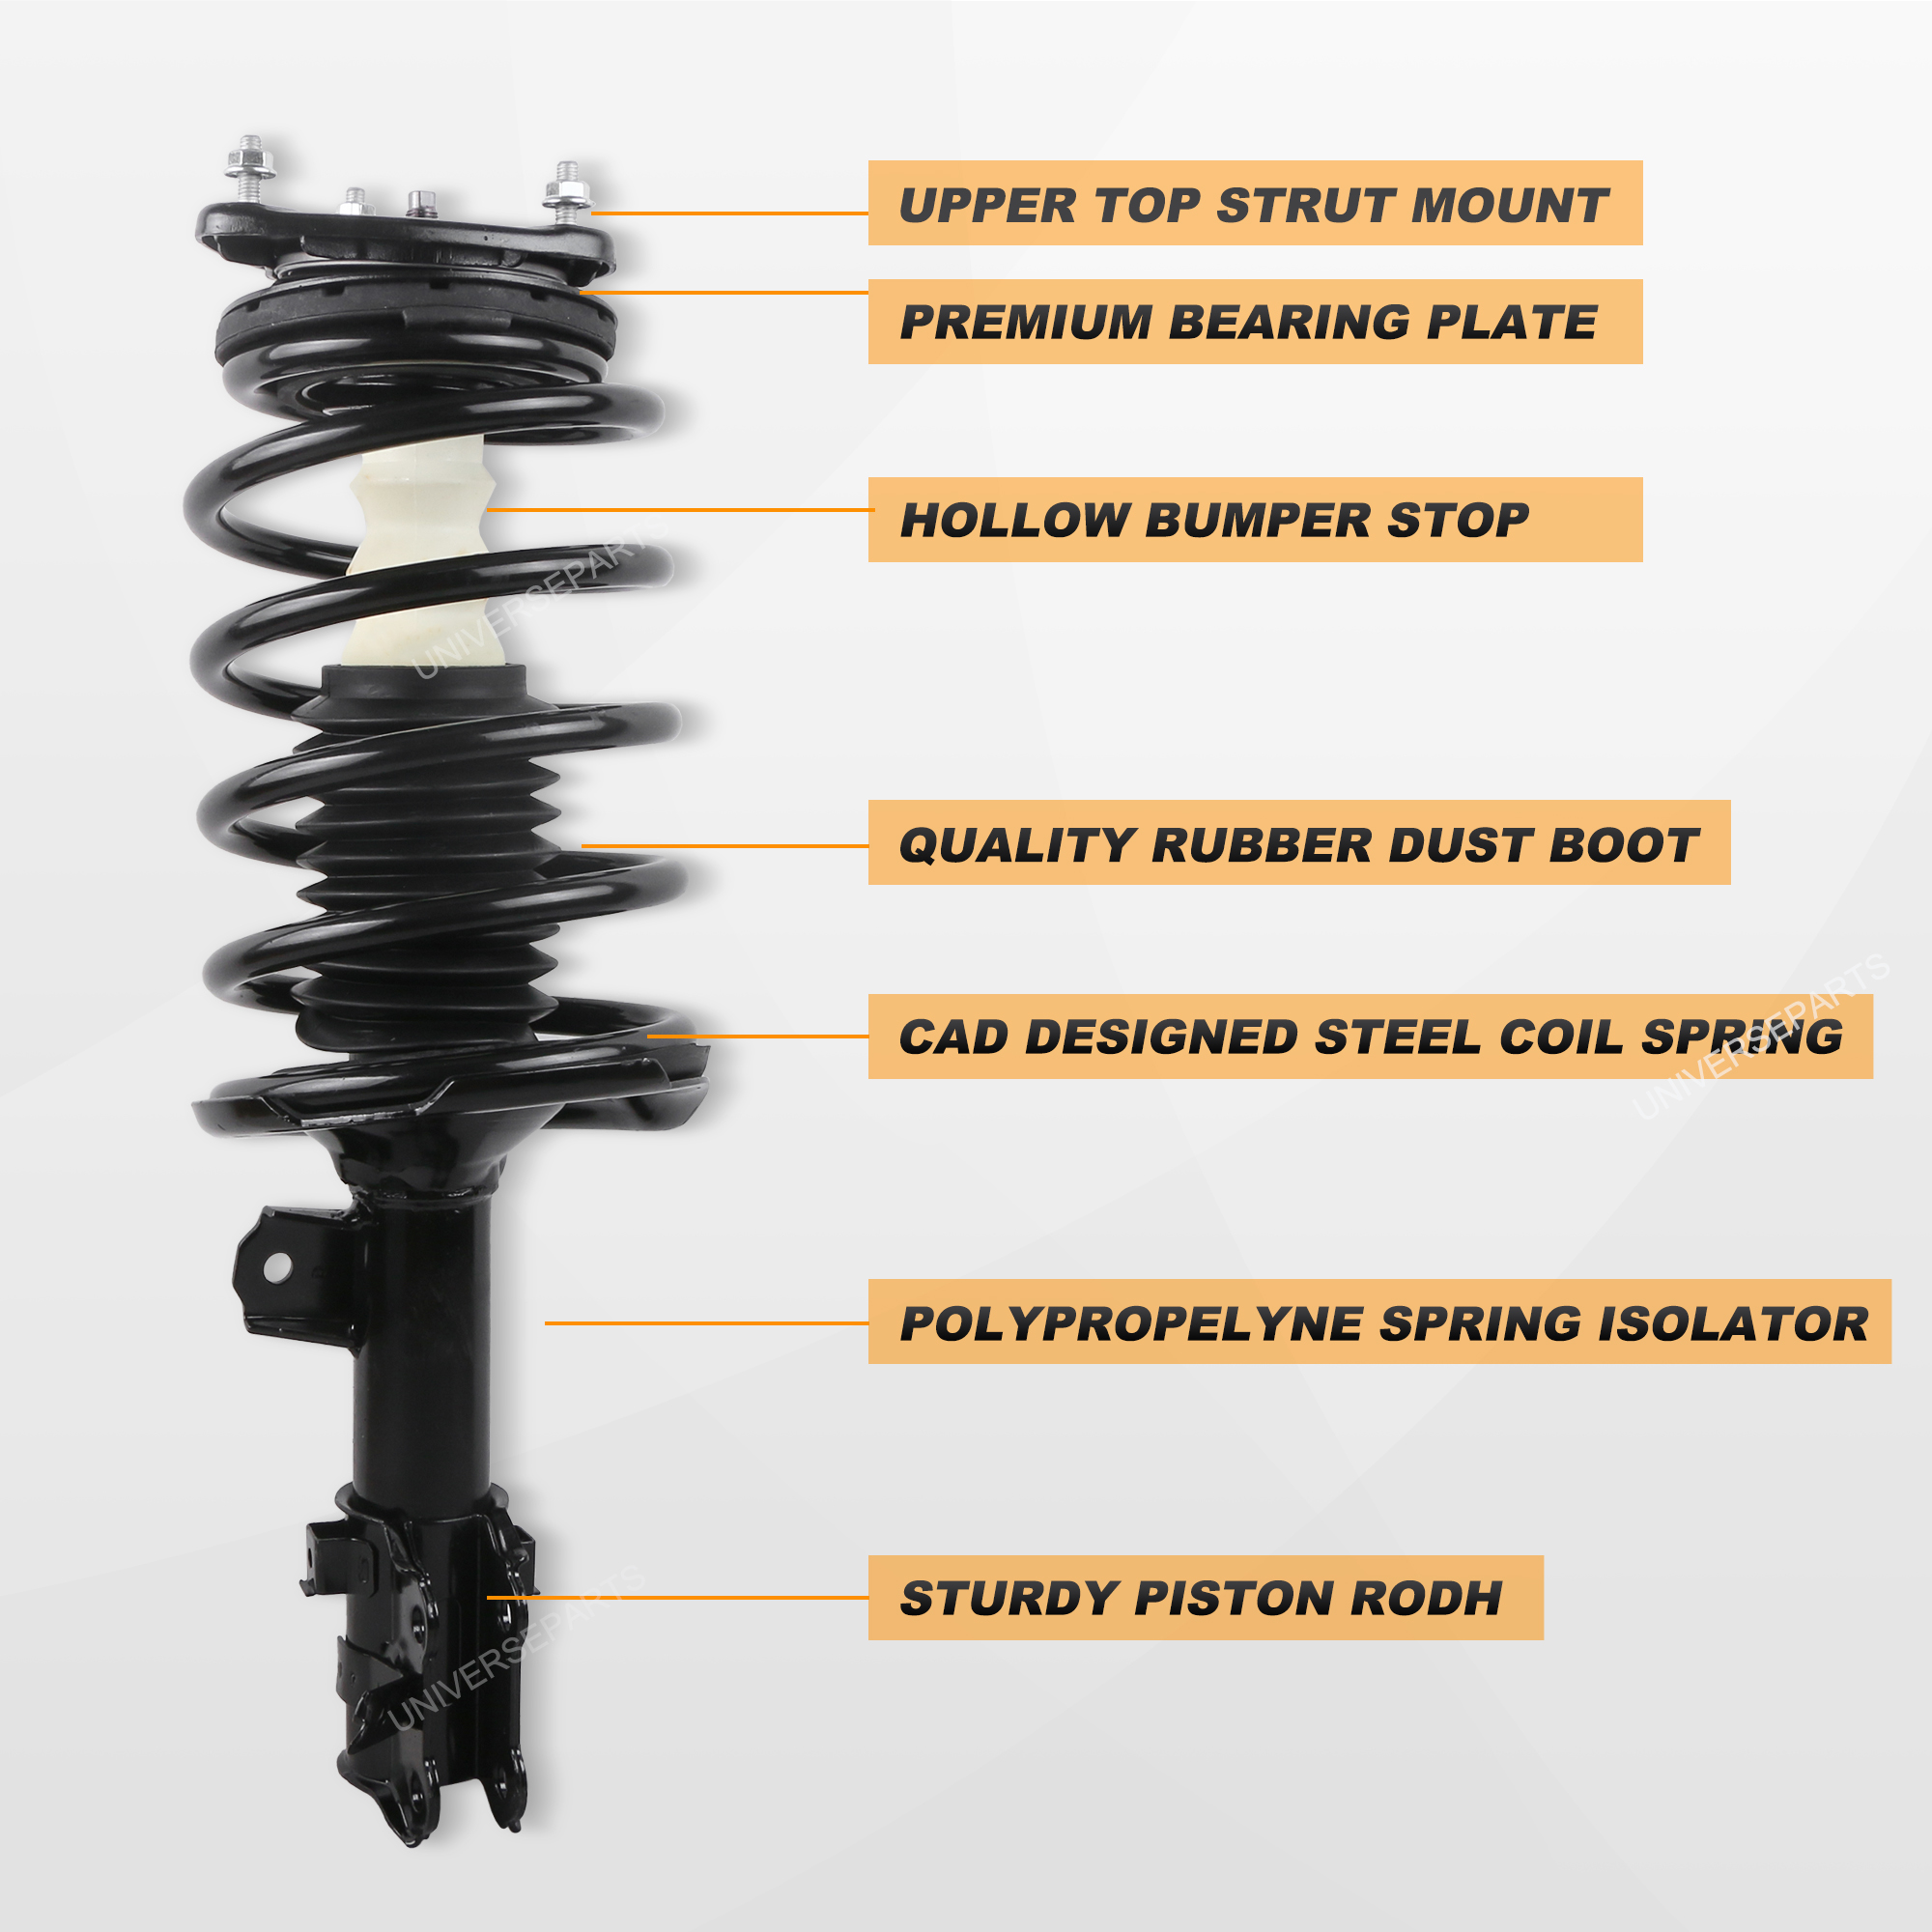
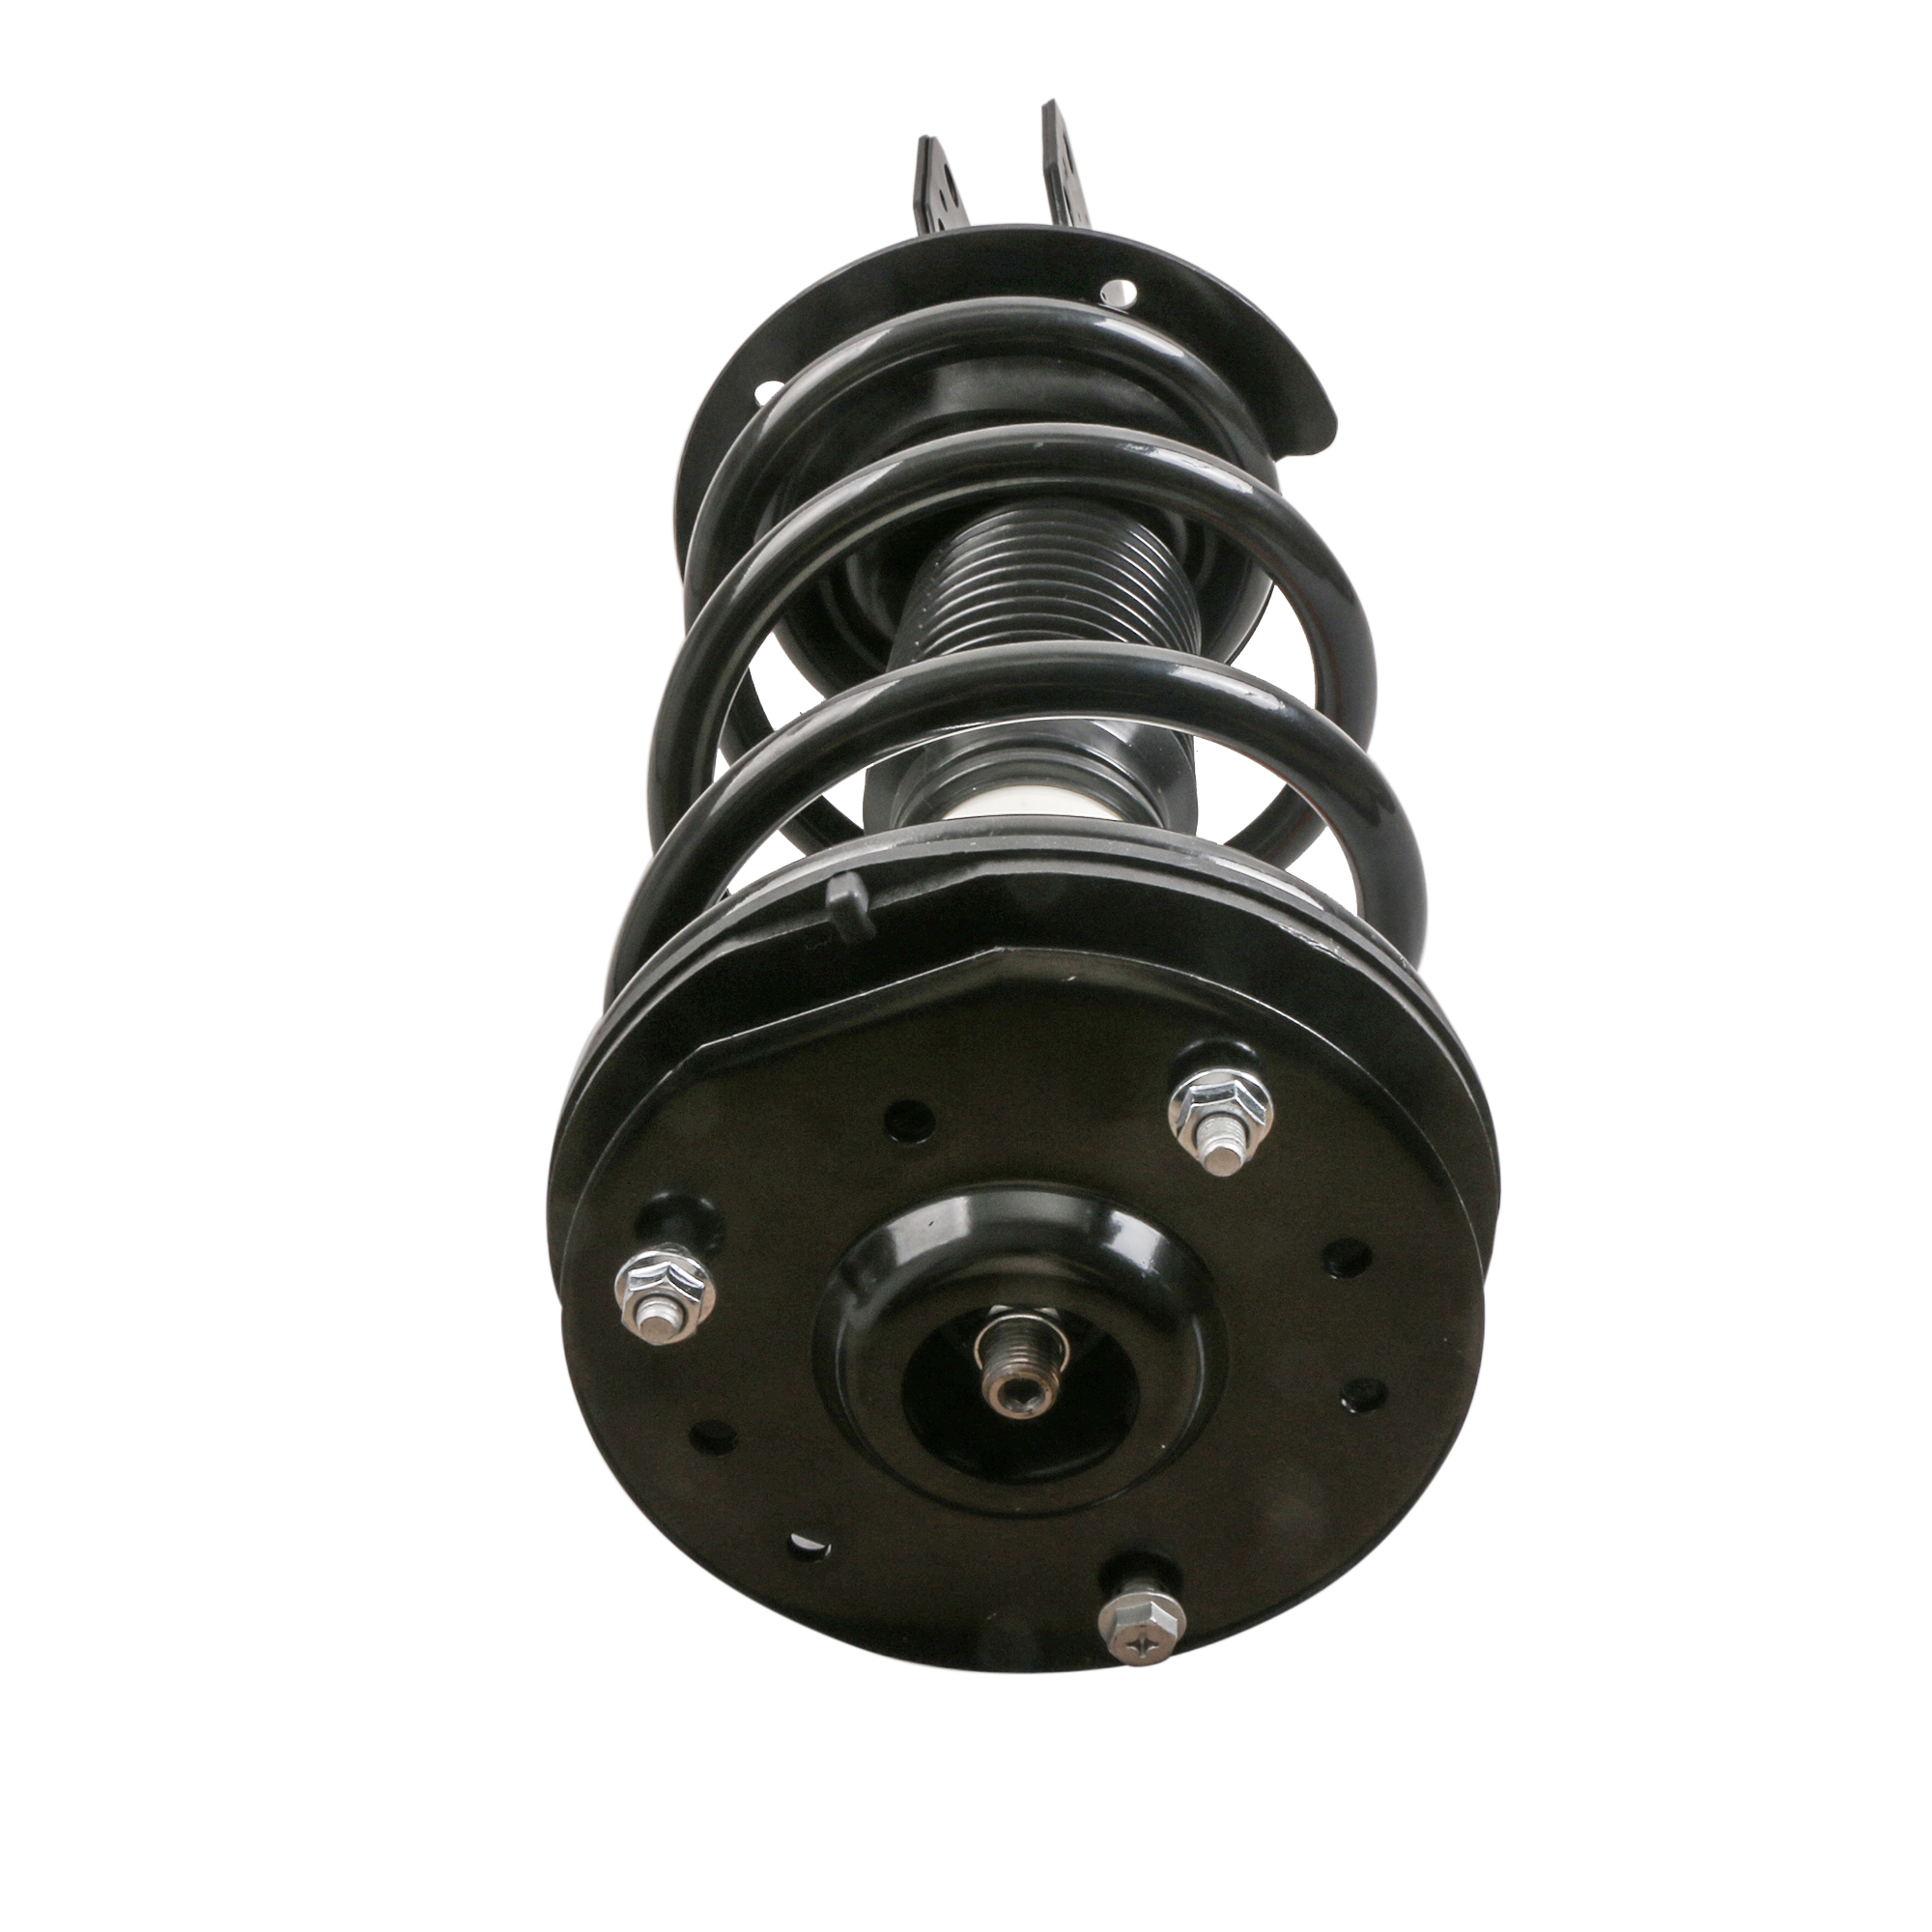
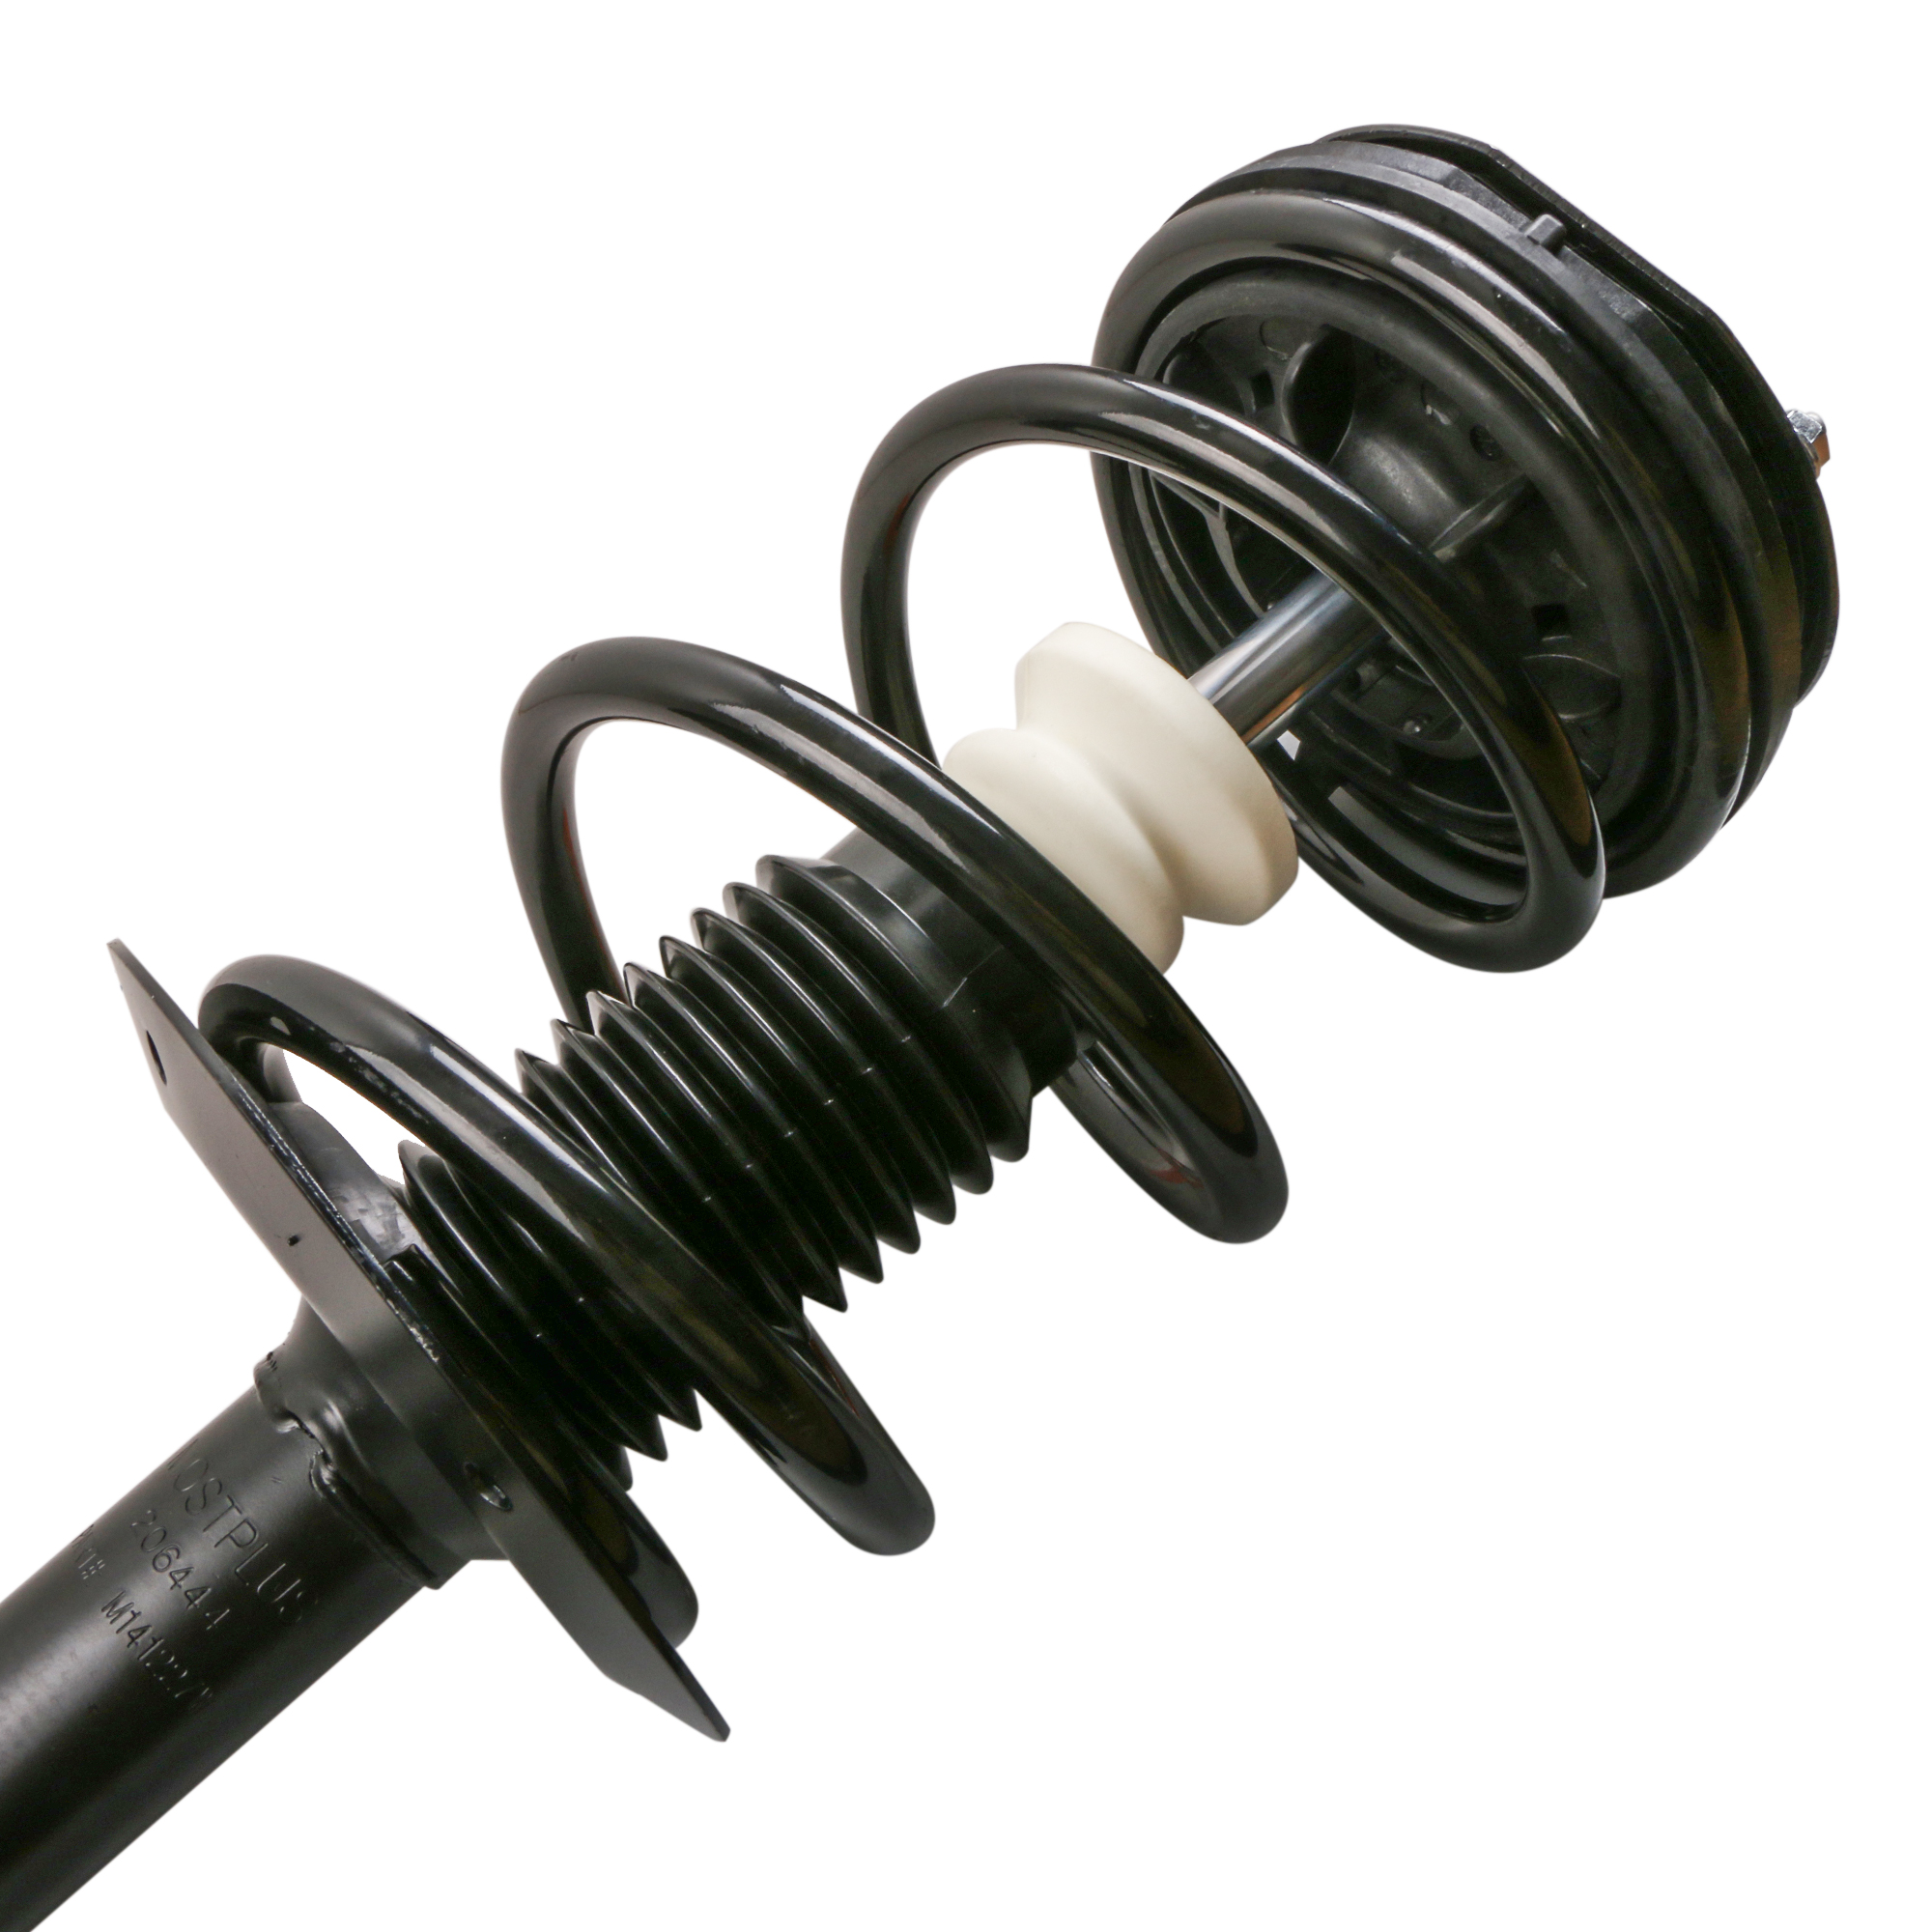
· Includes a pair of Complete Front Strut Assembly
· Interchange Part Number: 171672
Fitment:
| MAKE | MODEL | YEAR RANGE |
| CHEVROLET | CLASSIC | 2004-2005 |
| CHEVROLET | MALIBU | 1997-2003 |
| OLDSMOBILE | ALERO | 1999-2004 |
| OLDSMOBILE | CUTLASS | 1997-1999 |
| PONTIAC | GRAND AM | 1999-2005 |
HOW TO INSTALL:

Step 1: Before you lift the vehicle, loosen lug nuts one full turn.
Step 2: Jack up vehicle and use jack stands for safety & remove the tire from the rotor.
Step 3: (Wheel alignment is necessary after strut replacement.) Marking the position of all the bolts will help keep the alignment close to original and save time aligning. Use a colored pencil to mark the old strut on the bolt.
Step 4: Use penetrating oil (such as WD40) to coat any rusted fasteners, let soak for approximately 1 hour.
Step 5: (Optional) While waiting for oil to soak, take this time to inspect all other components that may need replacement (brake pads, rotors, brake hoses, ball joints, CV boots, tie rod ends, bushings, sway bars, etc).
Step 6: Remove any brake line or wire attachments from the strut body. Do not disconnect brake lines (if possible)! Opening brake lines will require bleeding of the brake system.
Use extreme caution when removing brake lines from your struts, as any damage to your brake line can result in expensive and time consuming repairs.
Step 7: Remove sway bar attached to the strut assembly or control arm.
Step 8: Remove the tie rod (only if it attached to the body of the strut, if not leave it attached to the steering knuckle).
Step 9: Remove the strut to knuckle bolts at the bottom of the strut. On some vehicles, the brake caliper and rotor may need to be removed to gain access.
Step 10: Remove the upper mounting plate bolts located in the engine or trunk compartment. Do not remove the center retaining nut! It is not safe to unload the spring from the assembly in this position.
Step 11: Carefully remove the old strut assembly from the vehicle. Be very cautious not to let the strut "drop" down on your brake line, rotor or drum.
Step 12: Install the new Complete Strut Assembly in the reverse order as above (steps 11-6). Using an anti-seize compound on all fasteners is suggested.
Step 13: Carefully double check your work and make sure everything is tightened to manufacturers torque specifications.
Step 14: Replace the tire the rotor and tighten to manufacturers torque specifications.
Step 15: Slowly lower the vehicle down after removing the jack stands. Pay very close attention to any odd sounds when the vehicle is lowered onto the new Complete Strut Assemblies.
Step 16: It is very important that you immediately "road test" your vehicle right away to ensure that installation was done properly. Listen and feel for common signs of incorrect installation while driving slowly over speed bumps, rough road or potholes.
Shipping time: 2-5 business day
We only ship to eBay address
All return need a RMA number.
Return will be given as monry back ot replacement
We will not refund any labor cost and other cost due to case or issue.
Any question will be replied within 24 hours except the weekend and holiday
1 year warranty
Warranty will be given as money back or replacement

Store Categories
- Tonneau Cover
- Headlight
- Taillight
- Wheel Hub
- Sensor
- Fuel/DieseI Injectors
- Exhaust Tip
- Fuel Pump
- Carburetor
- Intake Manifold
- Shocks Struts
- Cooling Fan
- Pumps
- Towing Mirror
- Roof Rack
- Engine Valve Cover
- Exhaust Manifold
- Distributor
- Idle Air Control Valve
- Air Intake Hose
- Spark Plug Ignition Wires
- EGR
- VVT
- Tool
- Wheel Lug Nuts
- Bulbs
- Fuel Cap
- Heater Blower Motor
- Water Cup Holder
- Sun Visor
- Other


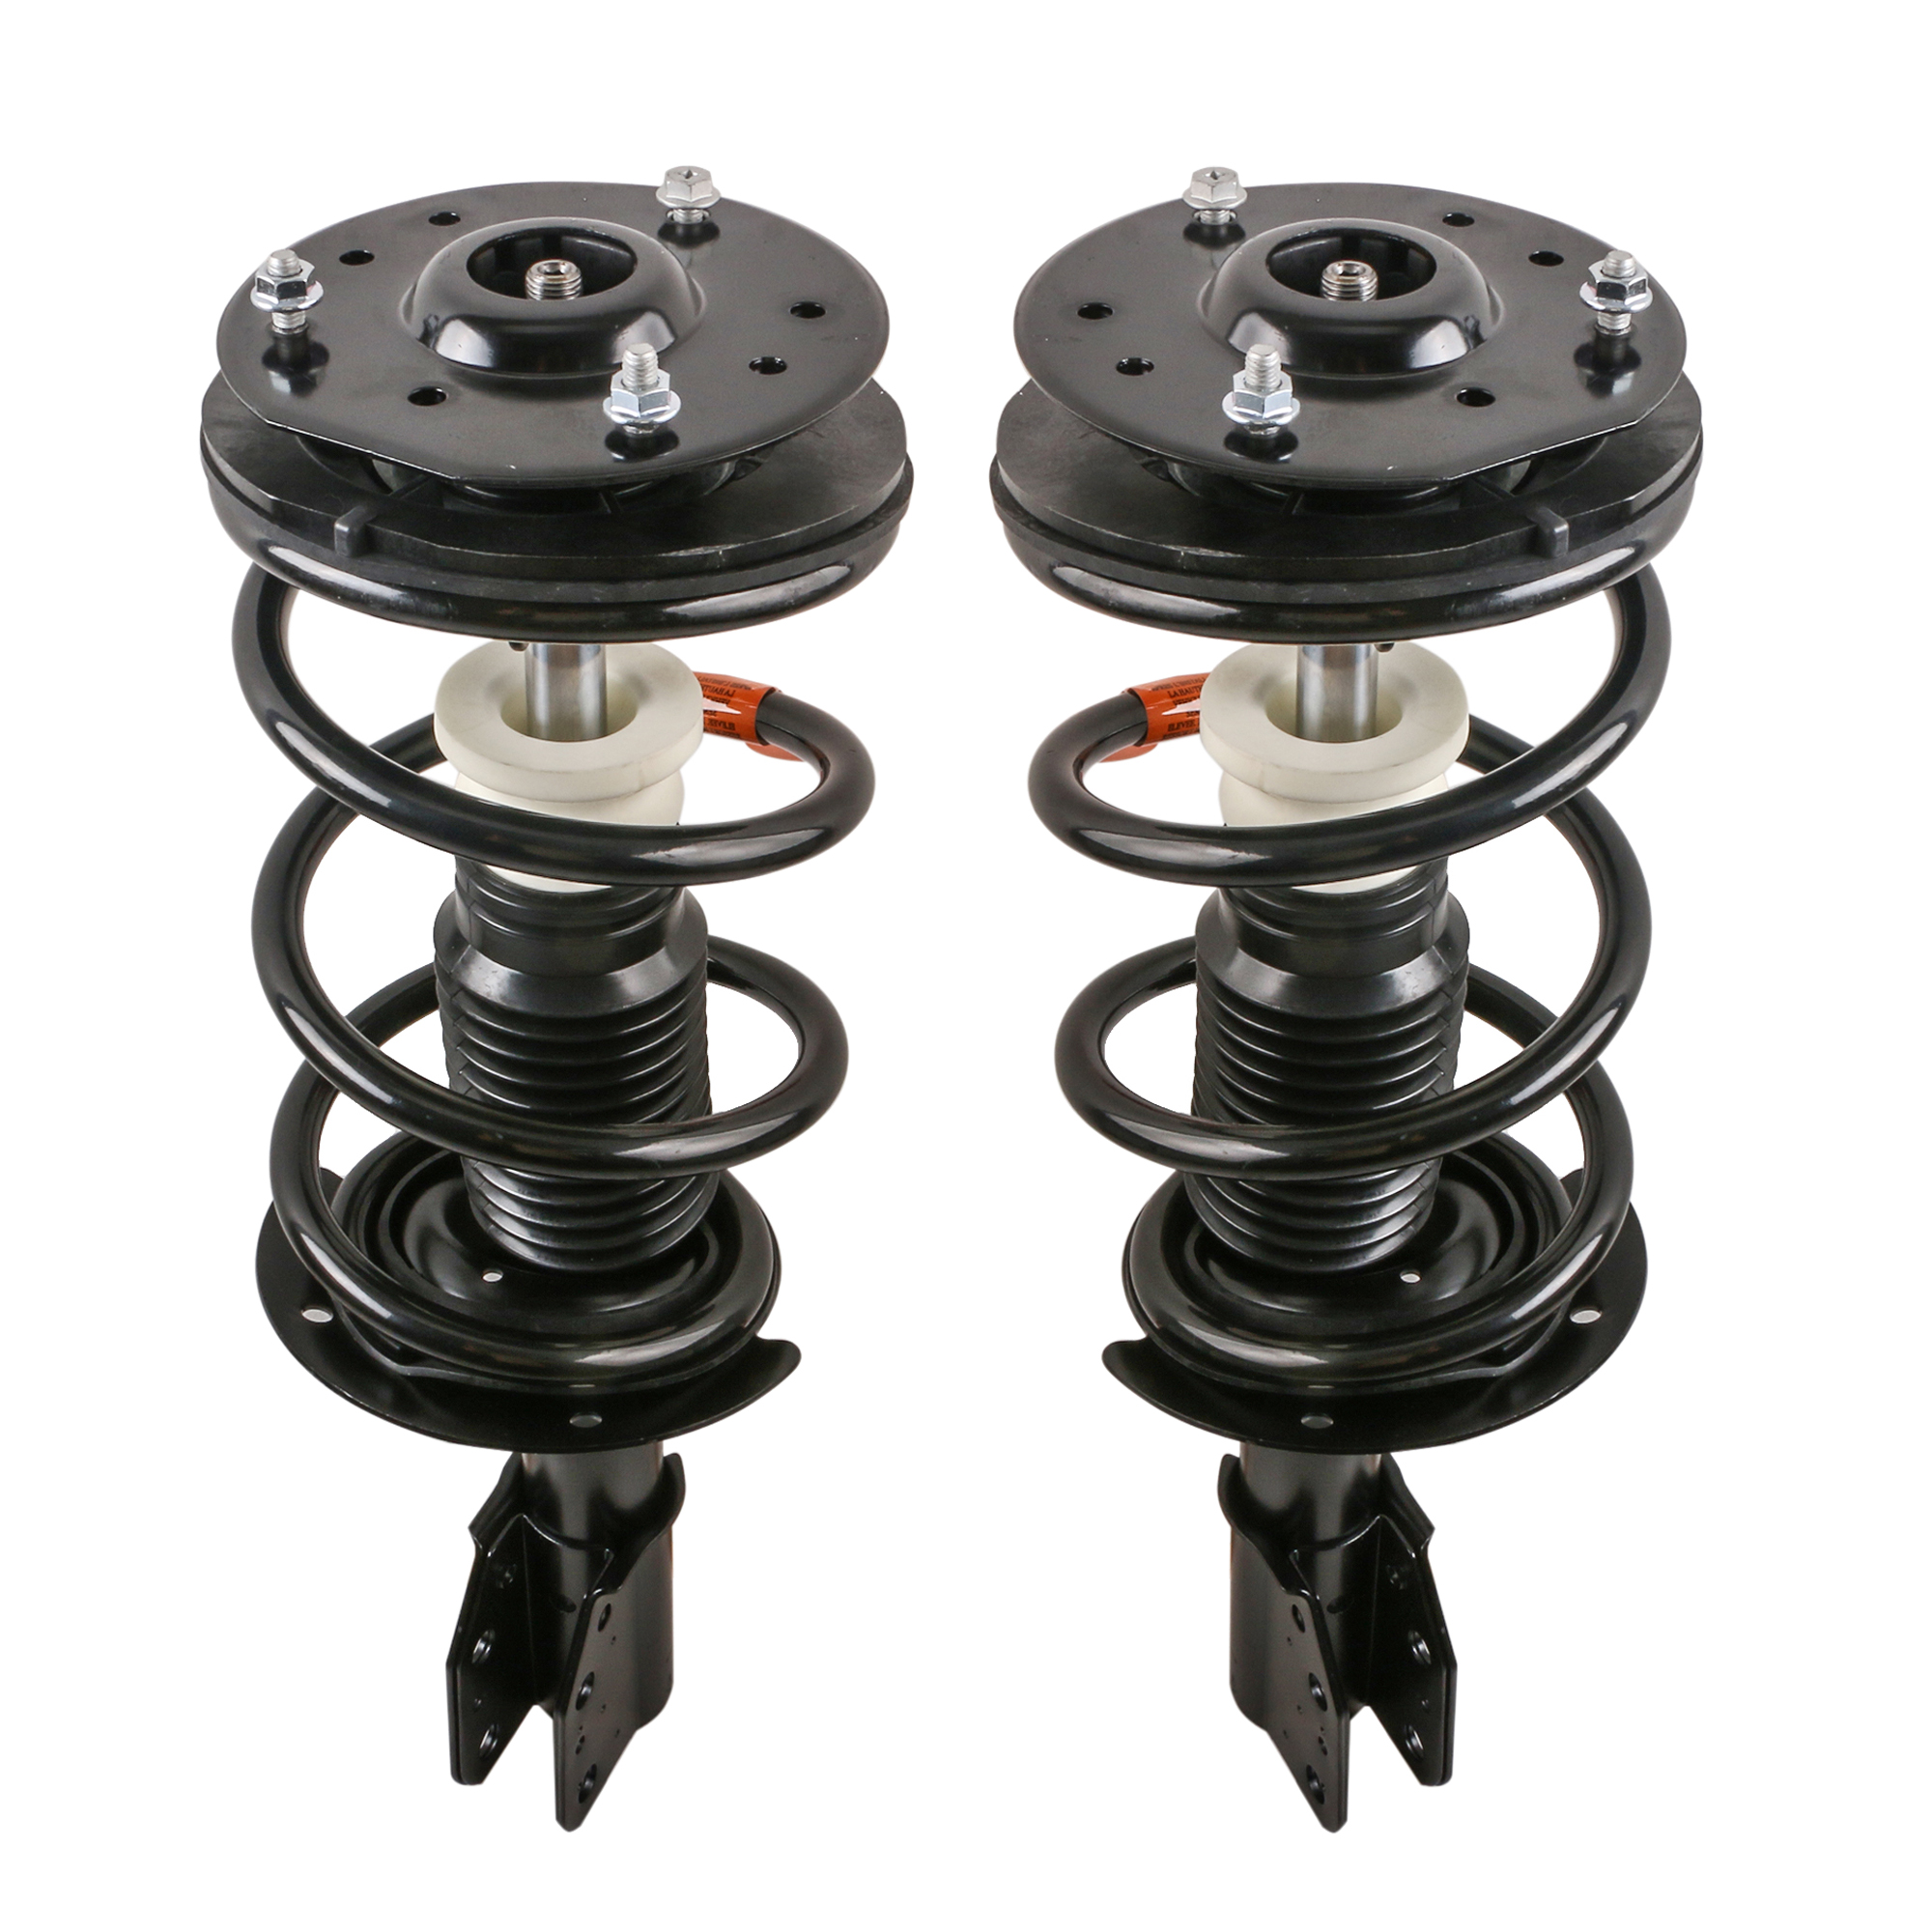
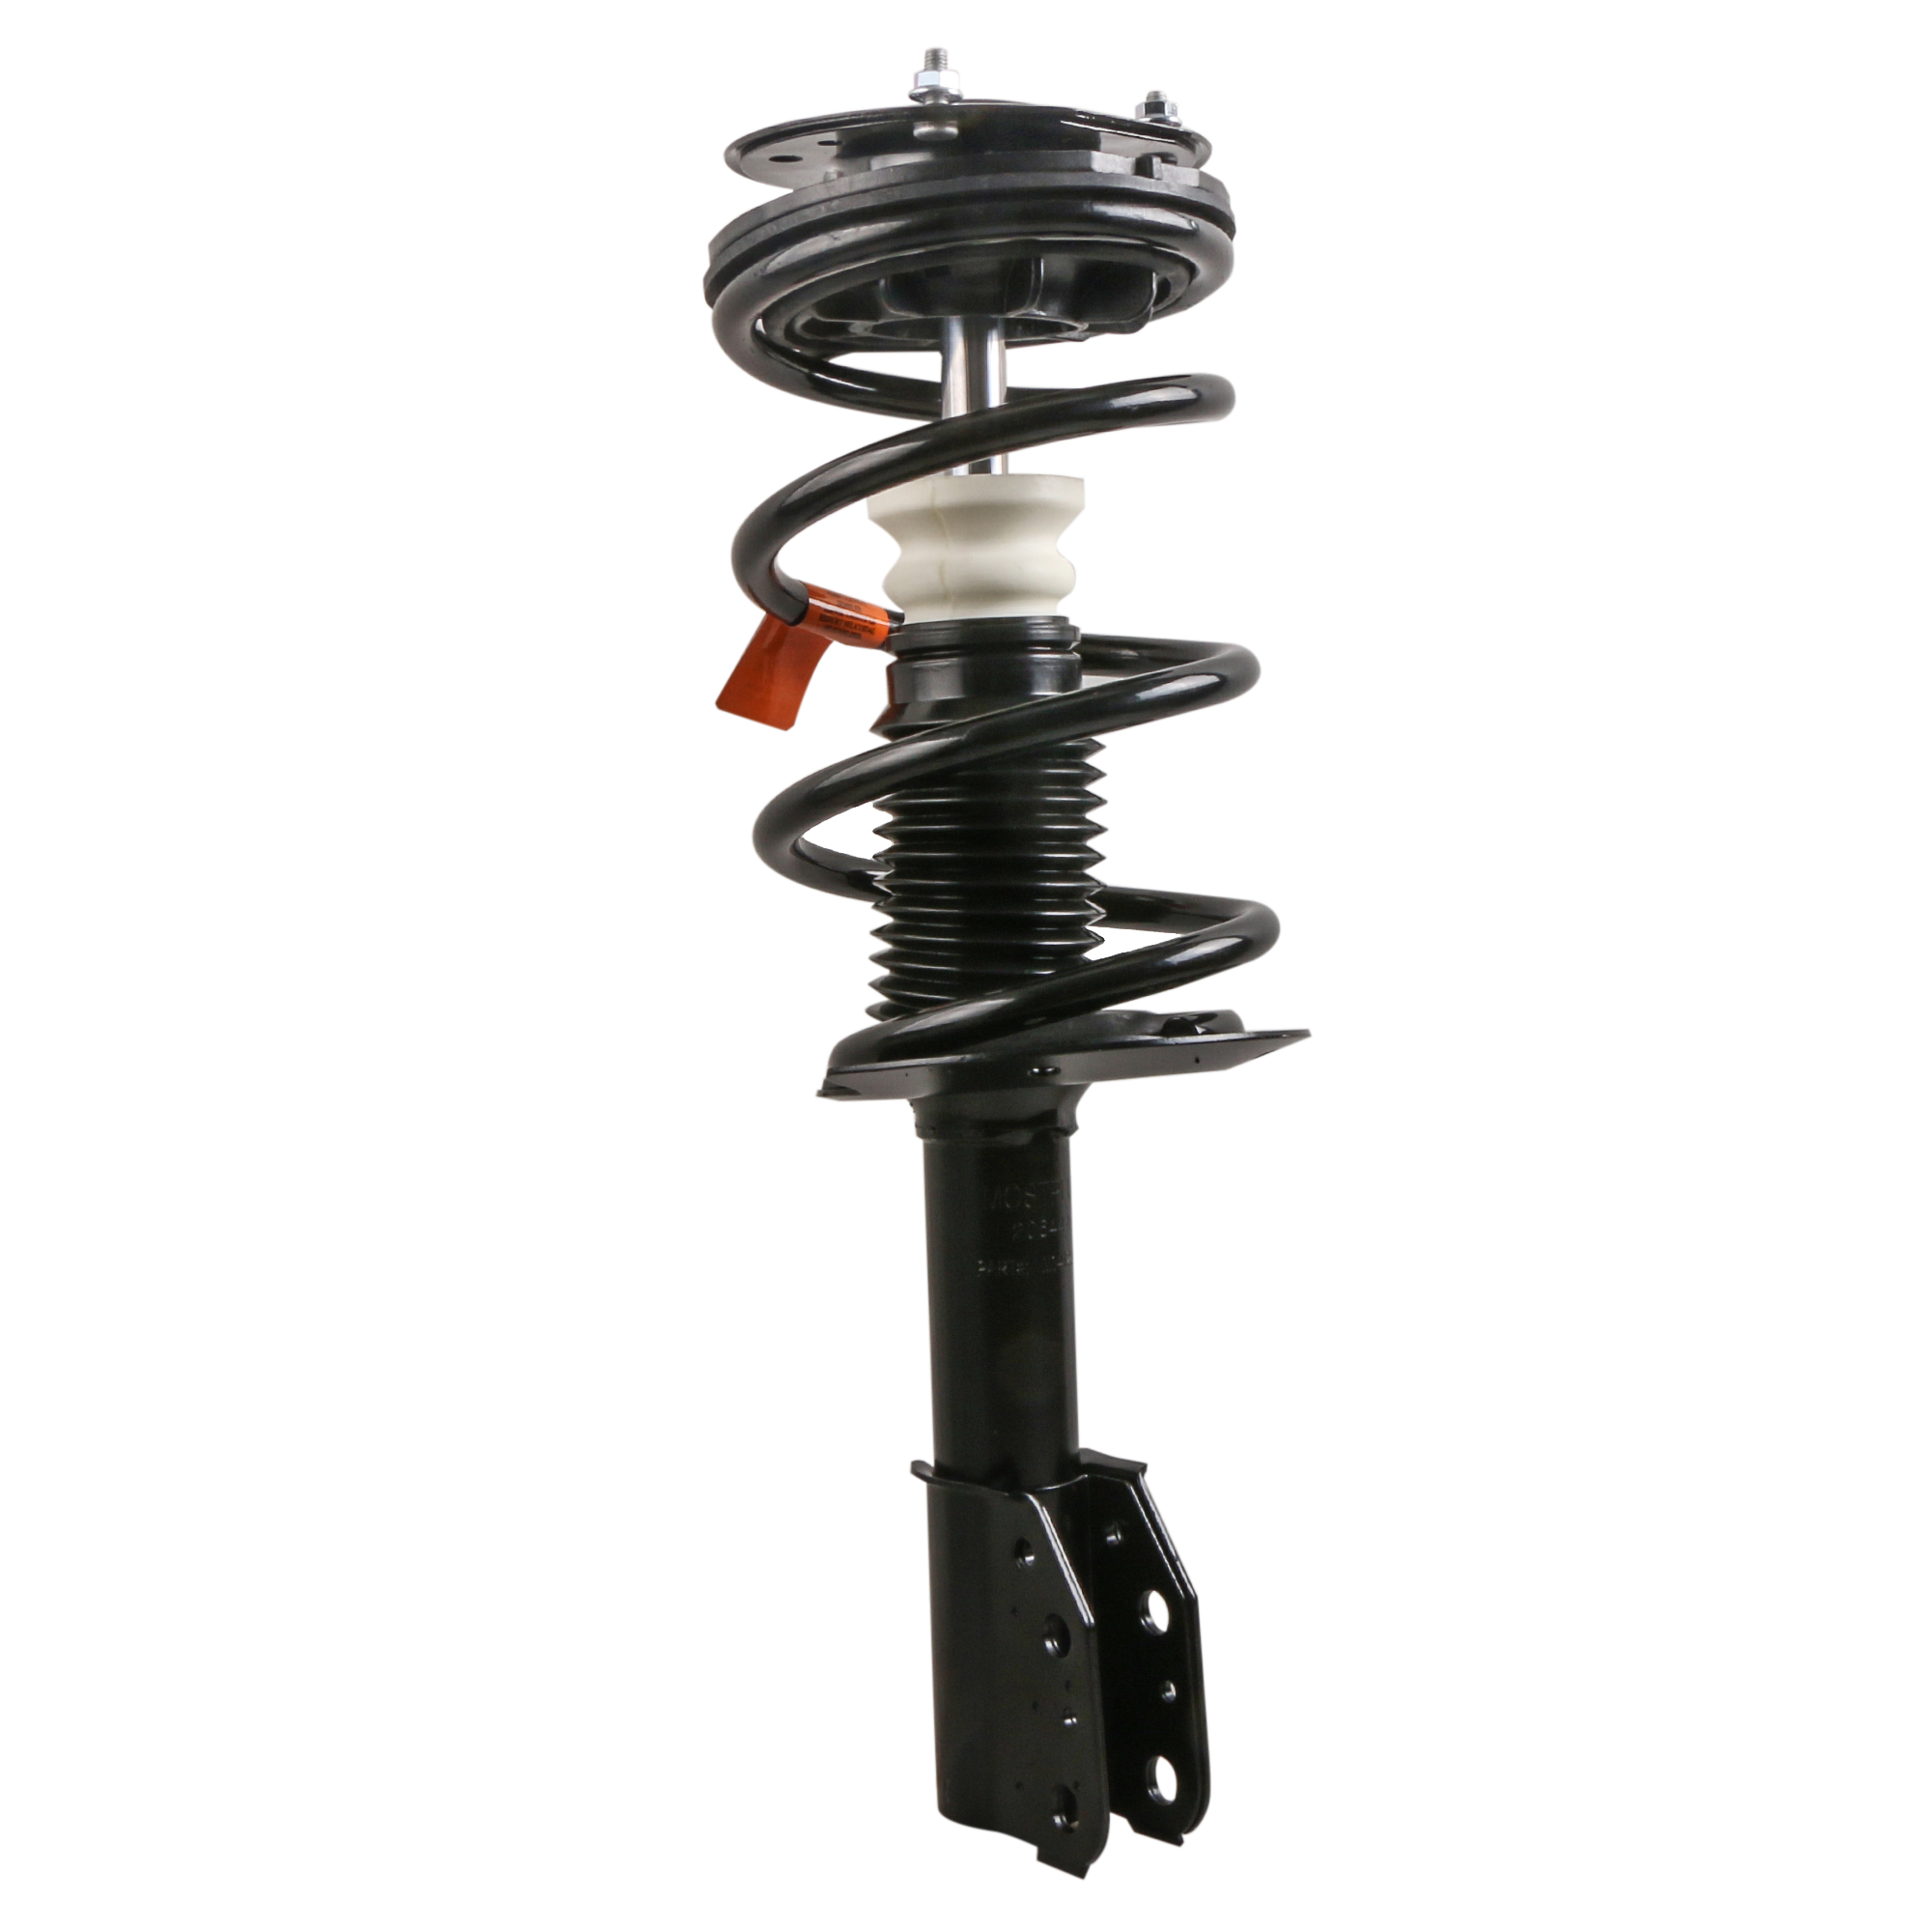
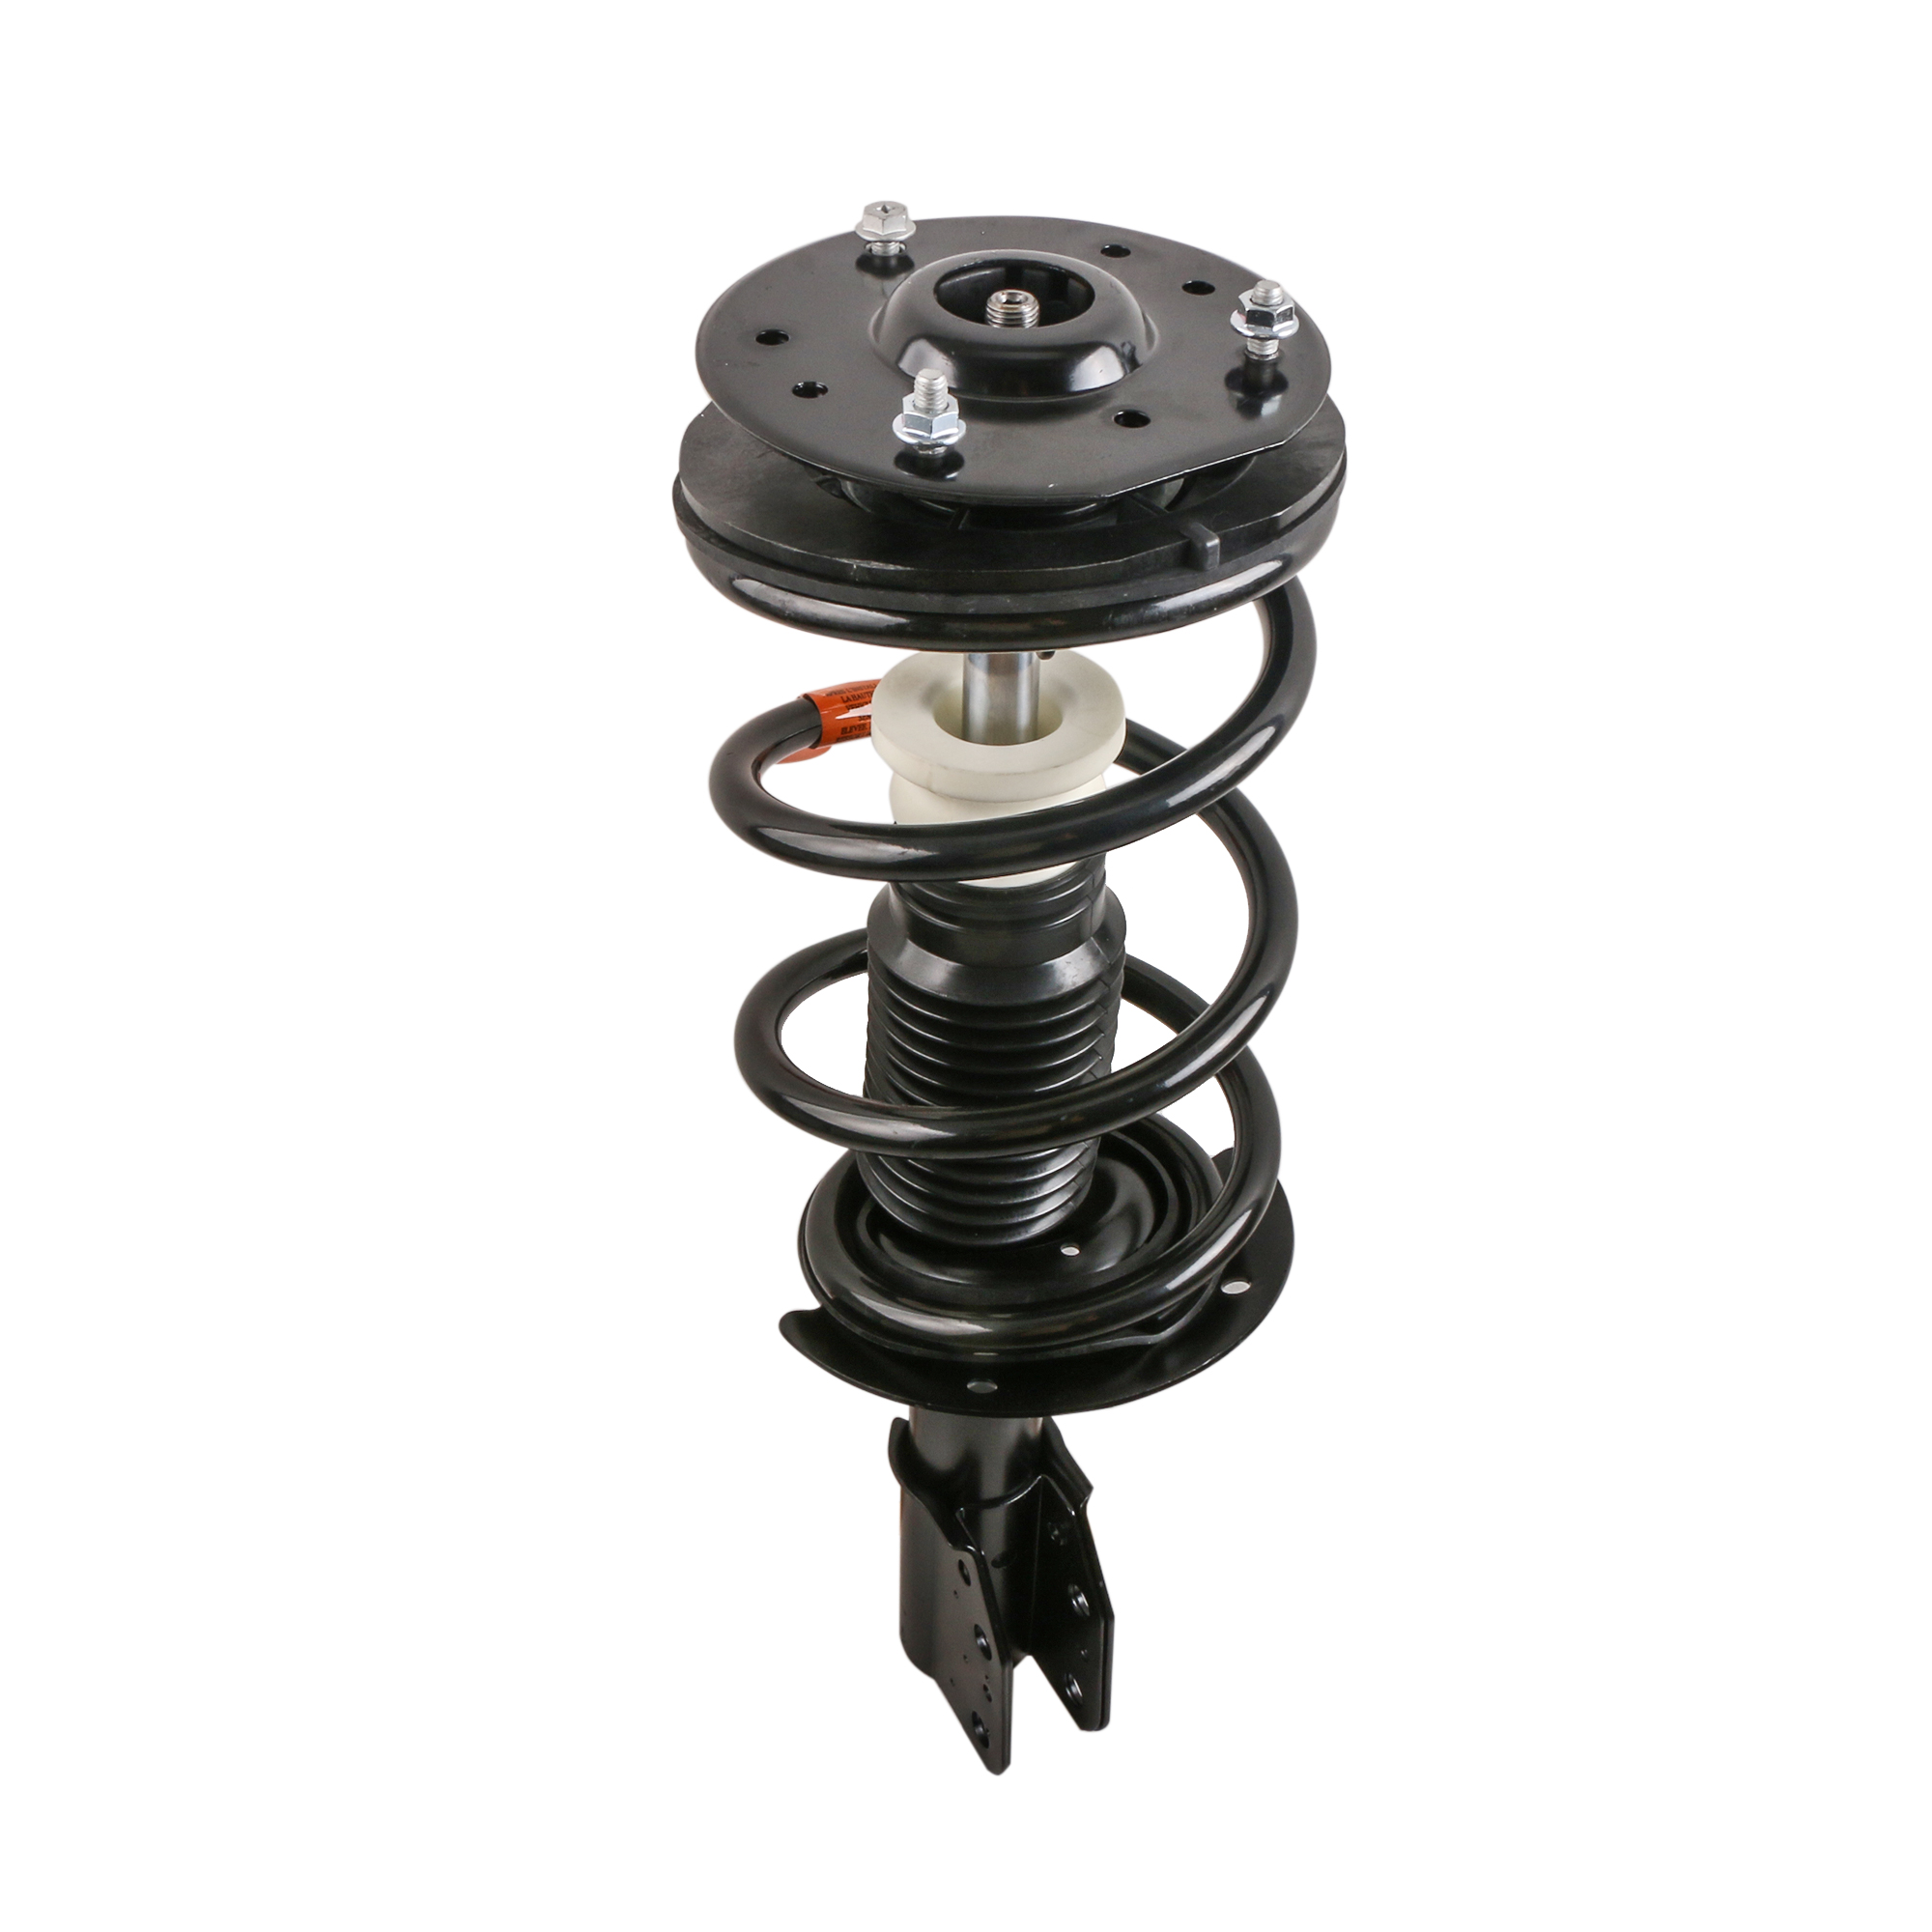
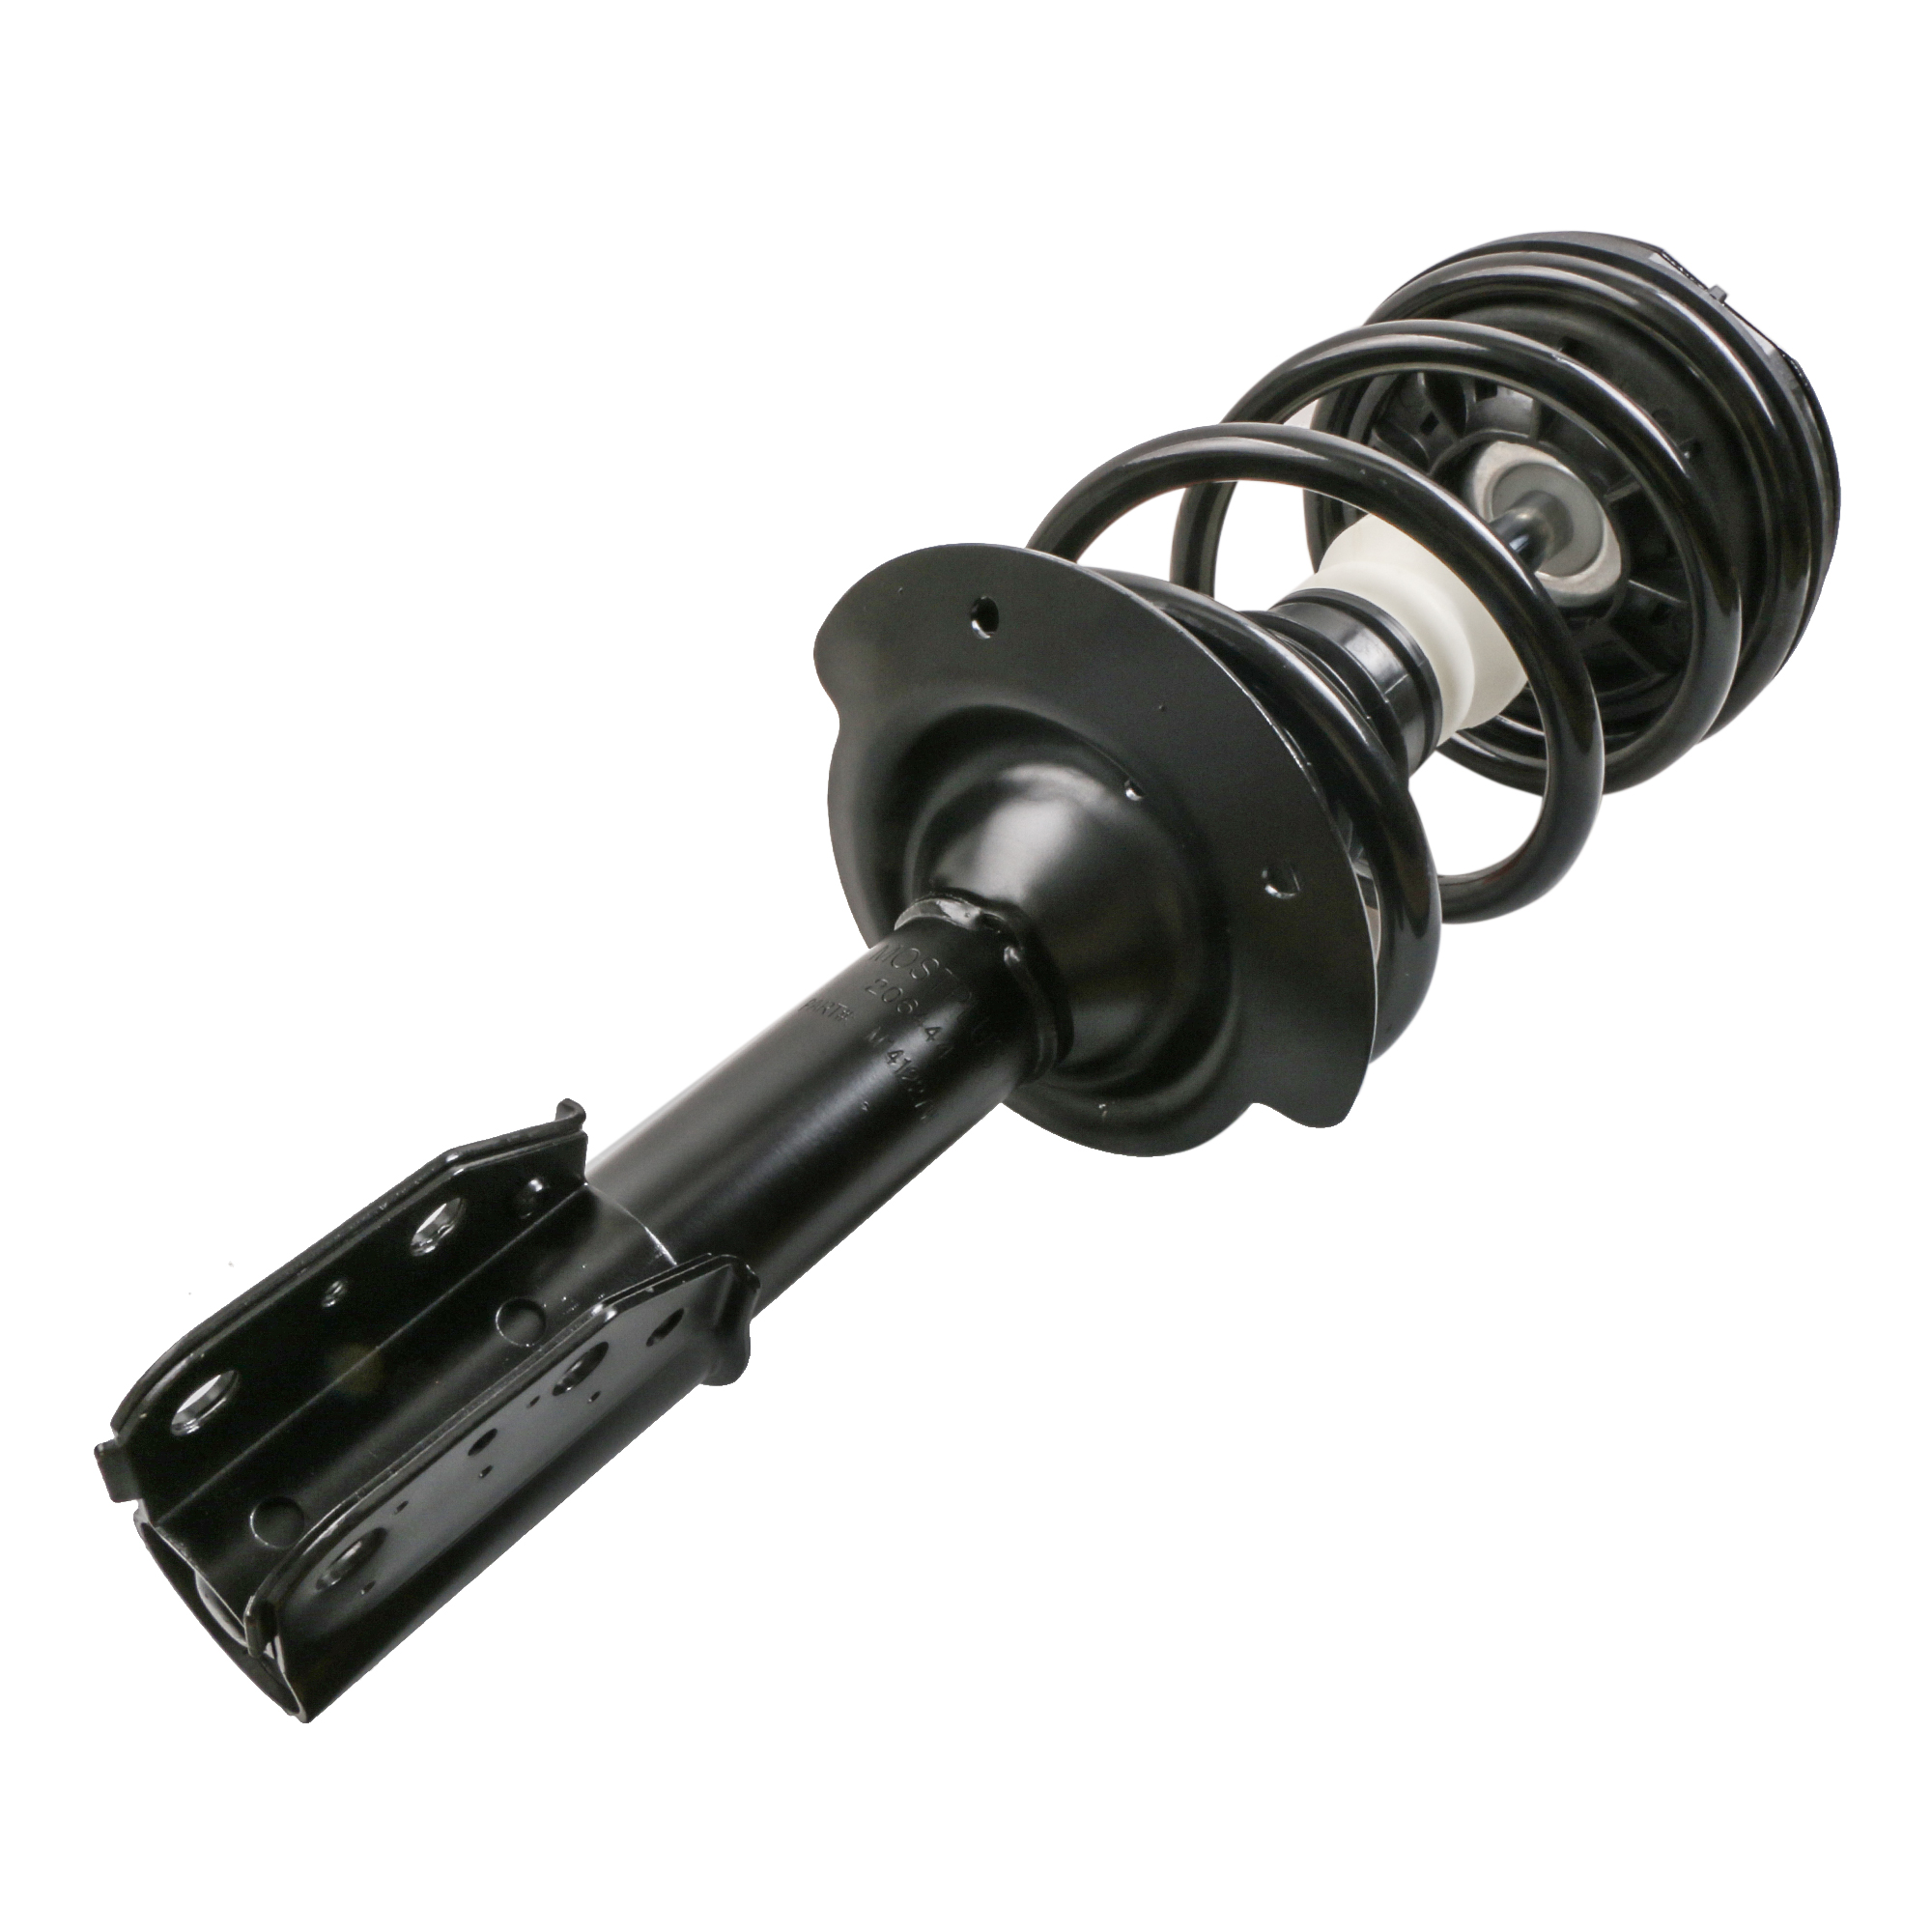
1 YEAR WARRANTY
Feature:
· Brand new
· Stock parts direct replacement
· Easy installation
· Placement on Vehicle: Front
· Includes a pair of Complete Front Strut Assembly
· Interchange Part Number: 171672
Fitment:
| MAKE | MODEL | YEAR RANGE |
| CHEVROLET | CLASSIC | 2004-2005 |
| CHEVROLET | MALIBU | 1997-2003 |
| OLDSMOBILE | ALERO | 1999-2004 |
| OLDSMOBILE | CUTLASS | 1997-1999 |
| PONTIAC | GRAND AM | 1999-2005 |
HOW TO INSTALL:

Step 1: Before you lift the vehicle, loosen lug nuts one full turn.
Step 2: Jack up vehicle and use jack stands for safety & remove the tire from the rotor.
Step 3: (Wheel alignment is necessary after strut replacement.) Marking the position of all the bolts will help keep the alignment close to original and save time aligning. Use a colored pencil to mark the old strut on the bolt.
Step 4: Use penetrating oil (such as WD40) to coat any rusted fasteners, let soak for approximately 1 hour.
Step 5: (Optional) While waiting for oil to soak, take this time to inspect all other components that may need replacement (brake pads, rotors, brake hoses, ball joints, CV boots, tie rod ends, bushings, sway bars, etc).
Step 6: Remove any brake line or wire attachments from the strut body. Do not disconnect brake lines (if possible)! Opening brake lines will require bleeding of the brake system.
Use extreme caution when removing brake lines from your struts, as any damage to your brake line can result in expensive and time consuming repairs.
Step 7: Remove sway bar attached to the strut assembly or control arm.
Step 8: Remove the tie rod (only if it attached to the body of the strut, if not leave it attached to the steering knuckle).
Step 9: Remove the strut to knuckle bolts at the bottom of the strut. On some vehicles, the brake caliper and rotor may need to be removed to gain access.
Step 10: Remove the upper mounting plate bolts located in the engine or trunk compartment. Do not remove the center retaining nut! It is not safe to unload the spring from the assembly in this position.
Step 11: Carefully remove the old strut assembly from the vehicle. Be very cautious not to let the strut "drop" down on your brake line, rotor or drum.
Step 12: Install the new Complete Strut Assembly in the reverse order as above (steps 11-6). Using an anti-seize compound on all fasteners is suggested.
Step 13: Carefully double check your work and make sure everything is tightened to manufacturers torque specifications.
Step 14: Replace the tire the rotor and tighten to manufacturers torque specifications.
Step 15: Slowly lower the vehicle down after removing the jack stands. Pay very close attention to any odd sounds when the vehicle is lowered onto the new Complete Strut Assemblies.
Step 16: It is very important that you immediately "road test" your vehicle right away to ensure that installation was done properly. Listen and feel for common signs of incorrect installation while driving slowly over speed bumps, rough road or potholes.
Paypal will allow you to pay by credit card,debit card,log in Payal for details.
We accept paypal ONLY, if you use the credit card to pay,the money will handle by the bank,and need many days to enter into our compnay's paypal accout.
* We would send out within 2 business days usually . If there is any delay, you will be notified immediately via e- mail.
* Items will be shipped to buyer's eBay registered address. Please confirm your address before making payment.
* We will NOT be responsible for any delay during delivery including but not limited to customs postage checking, strike, force majeure etc.
* As a buyer, it is your duty to pay the tax when you make a order from abroad. Our price does not include taxes, VAT, or other hidden charges.
Return for refund/replacement is acceptable.
Refund will be given as Money Back.
Please contact us if you have any questions, we will be always at your service!
Feedbacks are important not only to the seller but also buyer as well. If the transaction is to your liking, a positive feedback& 5star DSR is greatly appreciated. We welcome honest feedbacks.
We afford no tax, installing fee or other cost. Exchange or refund the amount of the order is optional if it is our fault.
1 year warranty
Warranty will be given as money back or replacementment